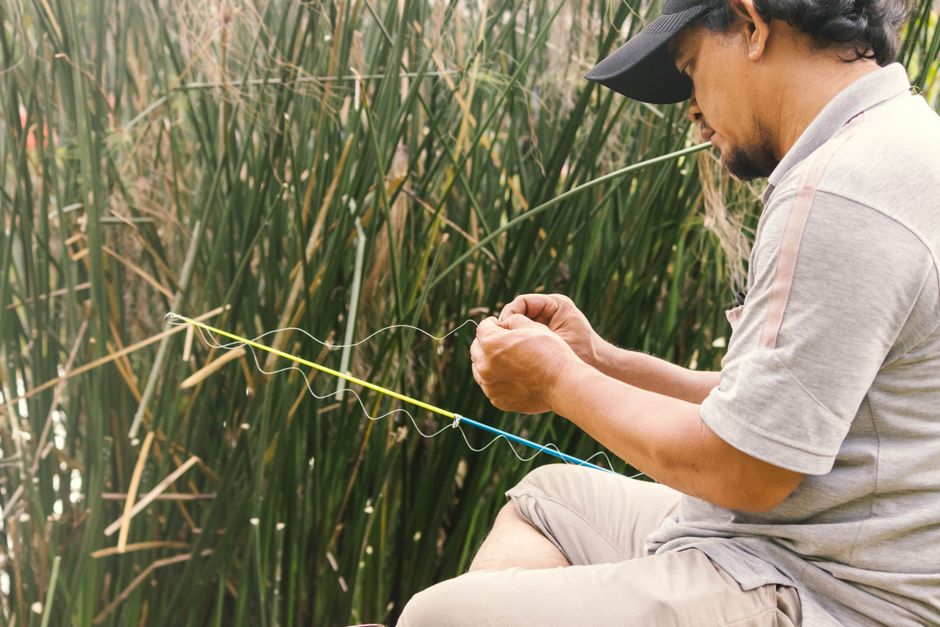
How to Tie the Perfect Clinch Knot for Stronger Catches
Tying a reliable knot is one of the most fundamental skills in angling. While many factors influence the outcome of a fishing trip, the connection between line and terminal tackle often determines whether a fish stays hooked or escapes. Among the many knot variations available, the improved clinch knot has gained widespread recognition for its balance of simplicity and holding power. This article examines the process of tying this knot, the reasoning behind its design, and the contextual factors that can affect its performance.
The improved clinch knot builds upon the basic clinch knot by adding an extra turn of the tag end through the loop. This small modification increases surface contact and friction, which can contribute to a more secure hold under varying loads. Understanding the mechanics of this knot allows anglers to appreciate why experienced fishermen often rely on it for attaching hooks, swivels, and lures. The following sections provide a detailed walkthrough of the tying technique, common pitfalls, and the conditions in which this knot may be most appropriate.
Understanding the Clinch Knot and Its Variations
The standard clinch knot has been a staple in fishing for decades due to its straightforward tying method. It involves passing the tag end through the eye of the hook, wrapping it around the standing line several times, and then threading the tag end back through the initial loop before tightening. However, this configuration can sometimes slip under heavy strain, especially with modern braided or coated lines. The improved clinch knot addresses this limitation by introducing an additional step: after threading the tag end through the first loop, the angler inserts it through the larger loop that forms between the wraps and the hook eye. This extra pass increases the friction surface and creates a more compact knot profile.
Other variations exist, such as the palomar knot or the Trilene knot, each with its own characteristics. The improved clinch knot remains popular because it works well with monofilament and fluorocarbon lines, is relatively easy to tie in low-light conditions, and does not require complex tools. Its design allows the knot to maintain a high percentage of the line’s original breaking strength, though actual performance depends on the specific materials and the care taken during tying.
Step-by-Step Guide to Tying the Improved Clinch Knot
The process of forming an improved clinch knot follows a sequence of distinct actions. For clarity, the instructions assume the angler is working with a typical monofilament line and a standard hook or lure. Begin by passing approximately six to eight inches of the tag end through the eye of the hook. Pull several inches of line through so that enough material remains for subsequent wraps. Then, create a simple overhand knot by twisting the tag end around the standing line, but do not tighten it fully.
Next, hold the tag end and the standing line together, then wrap the tag end around the standing line five to seven times. The number of wraps can vary; fewer wraps may reduce knot profile, while more wraps can increase friction. After completing the wraps, locate the loop that was formed by the initial overhand knot. Insert the tag end back through that loop. At this point, the improved clinch knot differs from the standard version: instead of pulling the tag end directly through, bring it through the larger loop that sits between the wraps and the hook eye. This second pass is the defining feature of the improved clinch knot.
Before tightening, moisten the knot with water or saliva to reduce friction heat. Then, slowly pull the standing line while holding the tag end to seat the wraps evenly against the hook eye. Trim the excess tag end to about an eighth of an inch to prevent snagging. The resulting knot should appear compact, with coils stacked neatly and no gaps visible.
Common Mistakes and How to Avoid Them
Even with a clear sequence of steps, several errors can compromise the integrity of the knot. One frequent mistake is failing to lubricate the knot before tightening. Without lubrication, the friction generated during seating can create hot spots that weaken the line, particularly with thinner diameters. Another common oversight is uneven wrap spacing. If the wraps cross over each other rather than lying side by side, the knot may not distribute pressure evenly, increasing the likelihood of slippage under load.
Using too many or too few wraps can also affect performance. While the typical range is five to seven wraps, some lines require adjustments. Braided lines, for example, tend to slip more easily, so a higher number of wraps may be necessary. Conversely, thick fluorocarbon lines may benefit from fewer wraps to prevent bulk. Anglers should also check that the tag end is not too long after trimming, as a protruding end can catch on guides or vegetation. Taking an extra moment to inspect the knot visually and feel for any rough spots can help identify problems before casting.
Factors That Influence Knot Strength
Knot strength is not determined solely by the tying technique. The material properties of the line play a significant role. Monofilament lines have a certain amount of stretch, which can absorb shock loads and help the knot settle. Fluorocarbon lines are denser and less elastic, meaning the knot must be seated very carefully to avoid damage. Braided lines have low stretch and high abrasion resistance, but their slick texture can cause some knots to slip if not enough wraps are used.
Environmental conditions also matter. Wet lines behave differently than dry lines, and cold temperatures can make some materials more brittle. The diameter of the line relative to the hook eye is another variable. A knot tied with a thin line on a large eye may not hold as securely because the wraps cannot compress tightly around the standing line. Additionally, the force applied during tightening should be steady and gradual. Jerking the knot can create micro-cracks or cause uneven seating. All these factors interact, meaning that no single knot configuration guarantees a certain level of strength across every situation.
When the Improved Clinch Knot Is Commonly Used
Experienced anglers often choose the improved clinch knot for a variety of applications where reliability is valued. It is a common choice for attaching hooks and swivels to monofilament leaders in freshwater fishing for species such as bass, trout, and panfish. The knot’s compact size allows it to pass through rod guides without catching, making it suitable for spin casting and baitcasting setups. In saltwater contexts, the knot can be used with heavier lines, though some anglers prefer alternative knots like the uni knot or the bimini twist for extreme loads.
The improved clinch knot is not typically recommended for very thin lines below two-pound test, as the wraps may not have enough surface area to hold securely. Similarly, for lines with very low stretch or high memory, alternative knots might offer better performance. The choice of knot always depends on the specific combination of line, terminal tackle, and target species. Understanding the improved clinch knot’s strengths and limitations helps anglers make informed decisions about when to rely on it.
Practical Considerations for Maintaining Knot Integrity
Once a knot is tied, its performance can be influenced by how it is treated during use. Regularly inspecting knots for signs of wear, such as fraying or deformation, can help prevent unexpected failures. After a long fight or after dragging a lure through heavy cover, it is advisable to retie the knot, as the repeated stress can gradually weaken the line at the connection point. Storing line away from direct sunlight and extreme temperatures also preserves its original properties, which in turn supports knot reliability.
Some anglers choose to practice tying knots at home under various conditions, such as with wet hands or in low light, to build muscle memory. This preparation can reduce errors when time is limited on the water. While no knot can be entirely infallible, a well-tied improved clinch knot, combined with careful maintenance and an understanding of the materials involved, provides a dependable method for connecting line to terminal tackle. The process of tying and testing knots remains a practical skill that benefits from ongoing attention and refinement.